HARD SPOT INSPECTION TROLLEY - English -
Page 57/84
Operating and Maintenance Instructions
adaptaed from: https://app.box.com/s/c6qfgtuhfg1yd2ottrfum98x8jmg7rn3
| Hard spot inspection trolley • PLAMAT-M •
18201 |
|
| Operating and
Maintenance Instructions • V2.0 |
Calibration procedure
|
5.2.1 Initial operation - Normalization
Prior to the calibration steps, a normalization for this distinct steel
grade is performed with the system during an initial operation phase.
For this, an area on the plate is chosen where the hardness corresponds
to the base material.

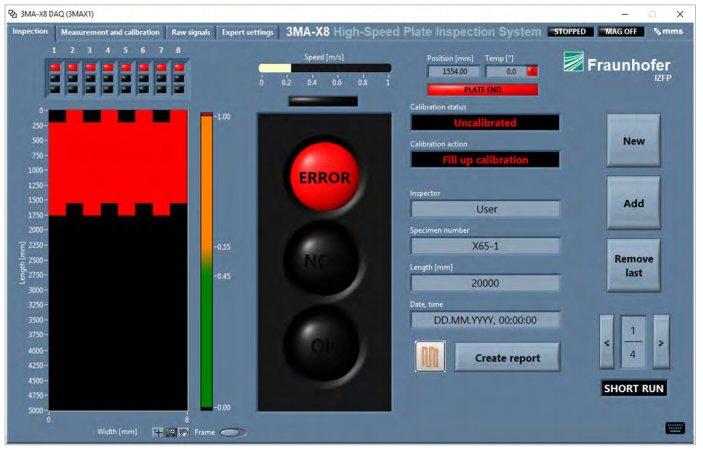
Figure 58: Normalization procedure (1)
- Sensor 1 on homogenous OK-area of reference plate
- Start measurement
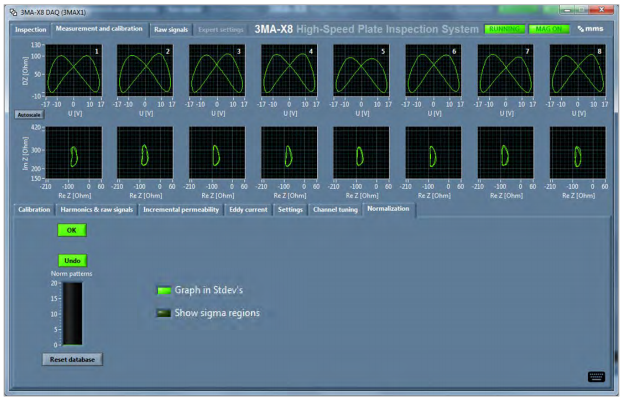
- Record normalization data by pressing OK

Figure 59: Normalization procedure (2)

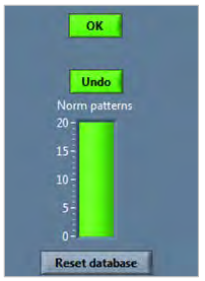
Figure 60: Normalization database filled
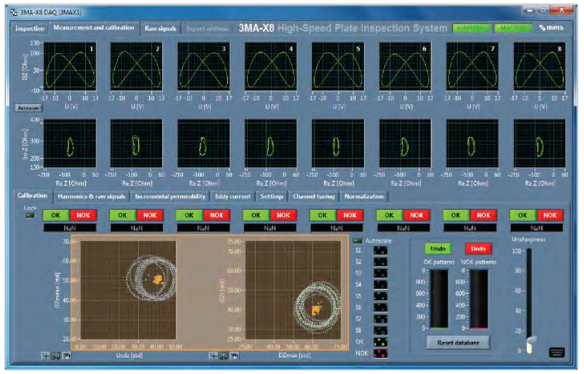
Specific 8-channel calibration of OK/NOK area (Lock for simultaneous calibration of 8 channels):

Figure 61: 8-channel calibration of OK/NOK area
| ROSEN and IZfP Page 57 of
84 |
Confidential! |
|